Mr.Peaberry
Member
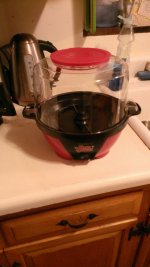
Yesterday I began my search of local thrift stores looking for a Stir Crazy popcorn popper & IR or Halogen countertop convection oven. I scored yesterday by finding a brand new, in-box, Stir Crazy for $9.99 at Goodwill (no tax).
Today, I looked, without luck, at four more thrift shops for the turbo oven; however, before giving up for the day, I decided to visit a mega-Goodwill shop not too far from where I live...actually, only 6 or 8 miles away (no, NOT 7). On my way there, and just a couple miles from home, I noticed signs at an intersection for a "bookstore/thrift store" that was relocating to another city, and they were liquidating as much inventory prior to the move as possible. One of the signs mentioned "housewares", so I did a quick stop before continuing in the off-chance they might have something.
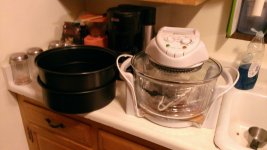
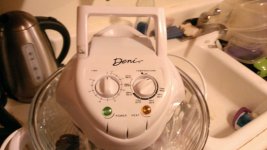
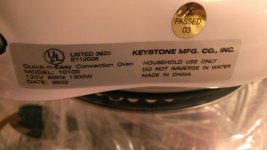
I had to enter through the roll-up door on the backside of this industrial business center as there was no parking on the street (yes, I like the sound of my own typing). Foraging through a rather large collection of junk placed randomly around the warehouse...I noticed a plain white, turbo oven sized box, up on the top shelf of a tall rack near some small appliance stuff. Since there were no markings on the box whatsoever, I was guardedly hopeful that this might be the very item I sought; it wasn't. It was not a used Galloping Gourmet IR turbo oven in great condition for an insanely low price. It was, however, a Deni, 1300 watt, convection oven...something I'd seen mentioned on Coffeegeek.com as an alternative to the GG oven. The other issue was the condition...it was not a better condition, used oven...it was a brand new, in the box...with all parts still in original plastic bags, oven! Holy cow, maybe I need to buy a lotto ticket! Not having any price marked on the box, I carried it to the register to inquire about what they were asking for it. They guy had to run and check with his boss, and came back with....$15.00. I almost screamed, "Chaaa-Ching!!", but instead kept my composure until I got loaded in my car...THEN...I had a meltdown! This is going to be fun!:-D
Have a great weekend all!


